
Yoga
The 10 Best Yoga Poses for Back Pain
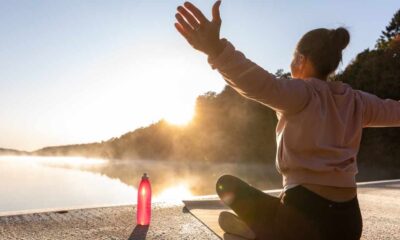
WFH (work from home) is the new normal for the working professional nowadays. In these current situations, sitting for a long time and not maintaining the proper back posture is causing the lower back pain problem in many of us.
Practicing some yoga poses for even a few minutes a day can help relieve tightness and give your lower back some relief.
If you practice them regularly you will be able to get the awareness to bring yourself into balance and alignment.
Disclaimer: If you have any history of lower back injuries or problems with your discs, please consult with your doctor before doing those poses.
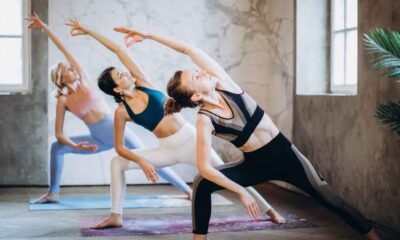
Here are the best yoga poses for back pain:
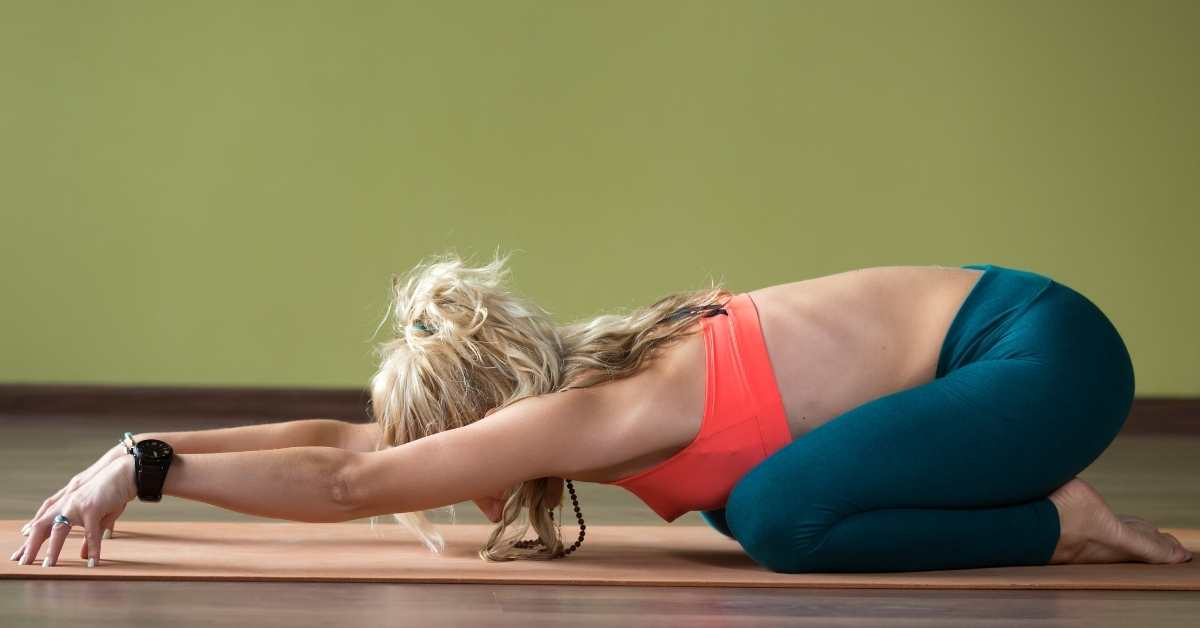
1. Child Pose or Balasana:
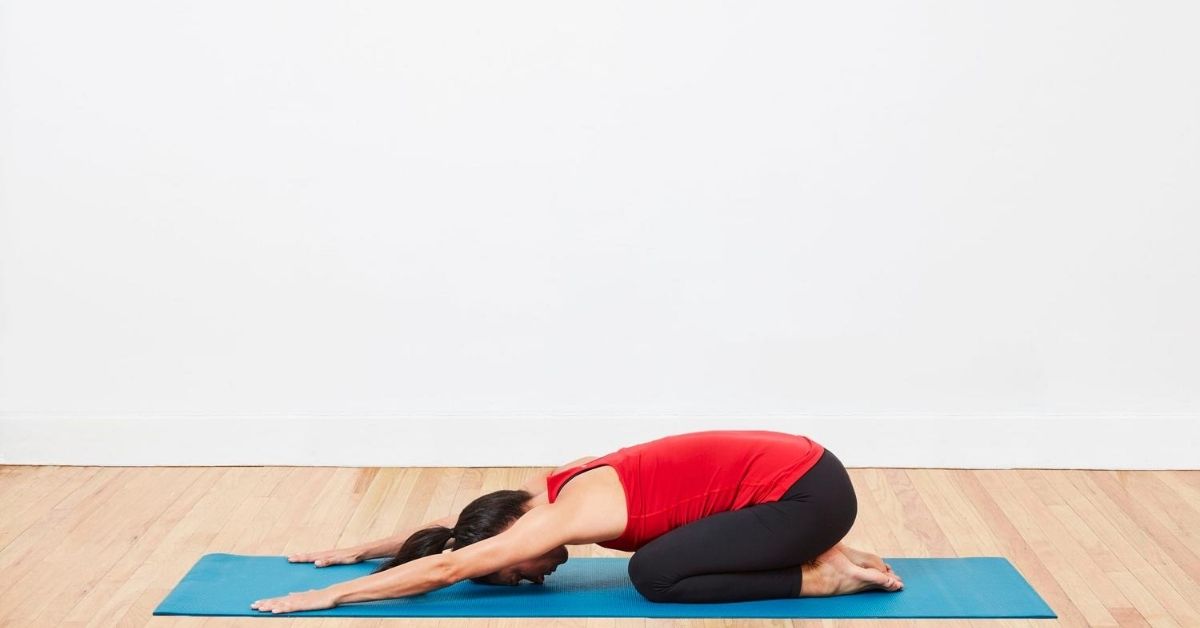
This gentle forward bend is the perfect way to relax and release tension in your neck and back.
Child’s Pose also stretches your hips and thighs muscles. While teaching yoga to my students, I always prefer to start my session with this relaxing posture.
It helps them to relieve their fatigue and tightness in their back.
How to do this?
- Sit back on your heels with your knees together.
- Bend forward and walk your hands in front of you.
- Rest your forehead gently on the floor or use a cushion to support your forehead.
- Keep your arms extended in front of you or bring your arms alongside your body with your palms facing up.
- Keep breathing normally and release the tension.
- Start holing this position for 1 minute and can extend up to 5 minutes.
Note: Don’t do this pose just after having your meal.
2. Cat/Cow or Marjariasana:
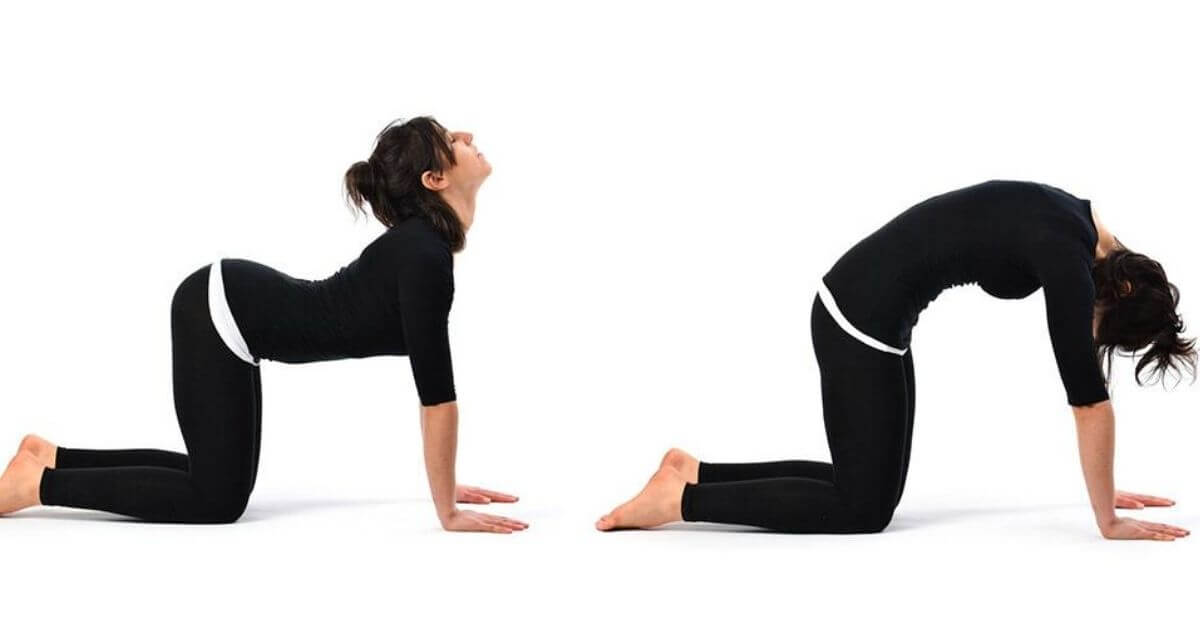
This gentle backbend stretches and mobilizes the spine. Practicing this pose also stretches your torso, shoulders, and neck.
How to do this?
- Get on a tabletop position.
- Place your wrists underneath your shoulders and your knees underneath your hips.
- Balance your weight evenly between all four points. (knees, wrists, shoulders, and hips)
- Inhale as you look up and let your stomach drop down toward the mat.
- Exhale as you tuck your chin into your chest, draw your navel toward your spine, and arch your spine toward the ceiling.
- Continue this movement for at least 1 minute.
3. Downward Facing Dog or Adho Mukha Svanasana:
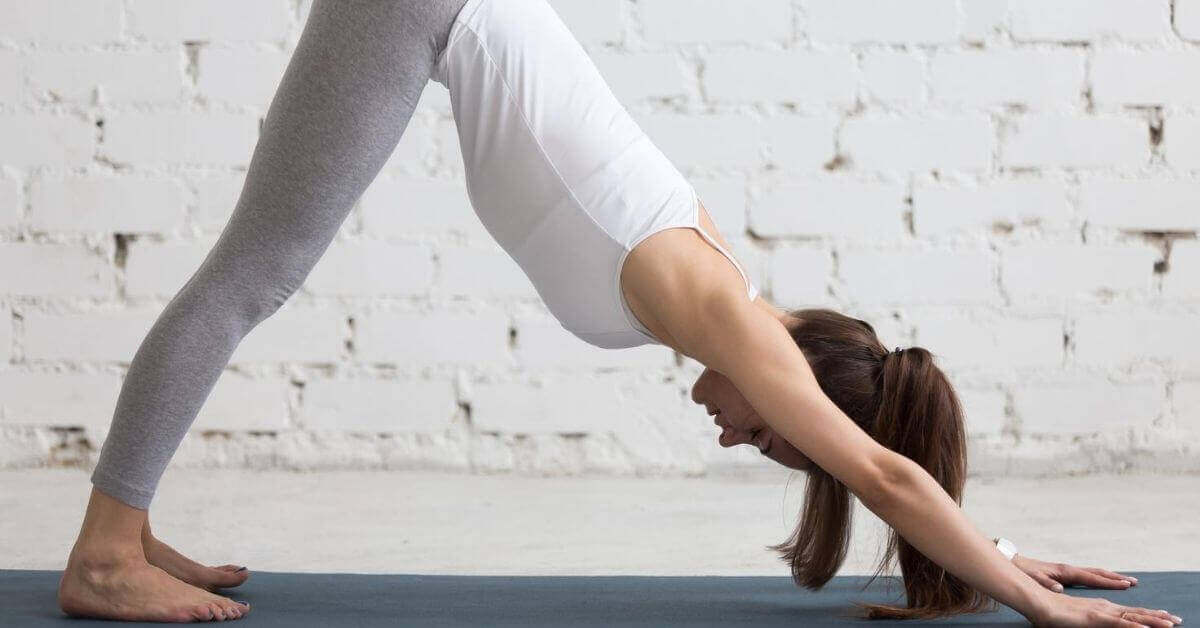
This traditional forward bend is the most important posture in yoga asana practice to relax your back and improve your shoulder strength.
How to do this?
- Get on all fours or table top position.
- Place your hands in alignment under your wrists and your knees under your hips.
- Press into your palms, tuck your toes under, and lift up your knees.
- Bring your sitting bones up toward the ceiling.
- Keep your heels slightly off the ground.
- Distribute your weight evenly between both sides of your body, paying attention to the position of your hips and shoulders.
- Keep your head in line with your upper arms or with your chin tucked in slightly.
- Hold this pose for up to 1 minute.
Note: Don’t give pressure to your wrists instead press firmly into your mounts of the palms.
4. Cobra Pose or Bhujangasana:
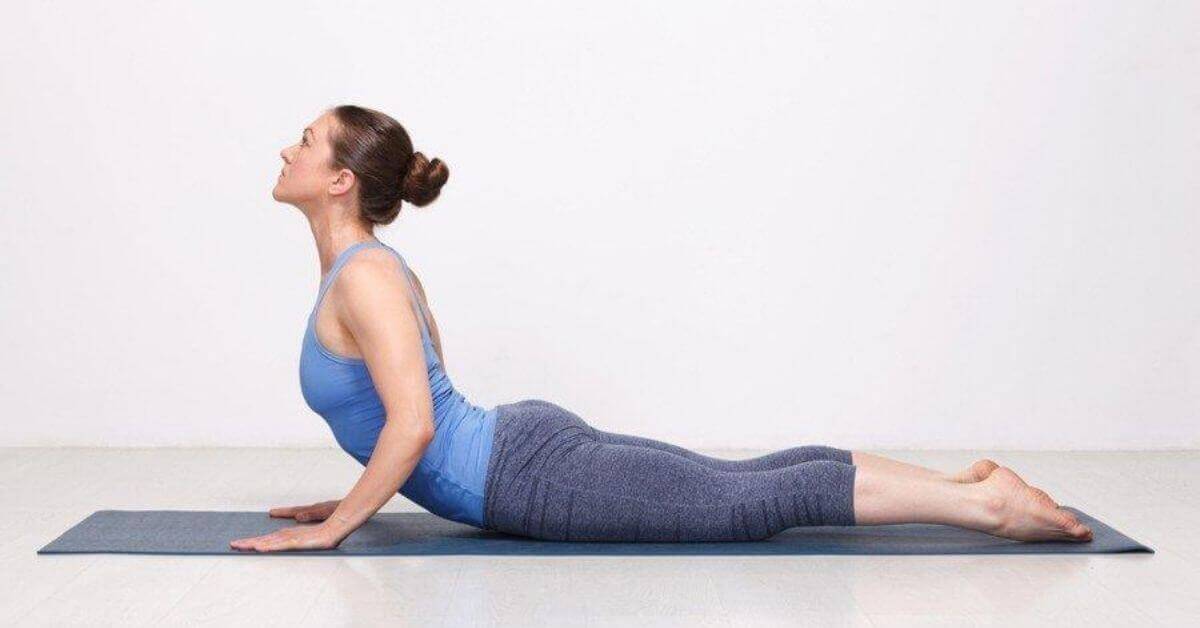
This gentle backbend stretches your abdomen, chest, and shoulders. Practicing this pose strengthens your spine and relieve stress from your back.
How to do this?
- Lie on your stomach with your hands under your shoulders.
- Draw your arms tightly to your chest. Don’t allow your elbows to go out to the side.
- Press into your hands to slowly lift your head, chest, and shoulders.
- You can lift partway, halfway, or all the way up. (according to your own capability)
- Maintain a slight bend in your elbows.
- You can let your head drop back to deepen the pose.
- Hold this pose for 10 seconds.
- Keep breathing.
- Release back down to your mat on an exhale.
- Bring your arms by your side and rest your head.
- Do the same process for 3-5 times.
5. Locust Pose or Salabhasana:
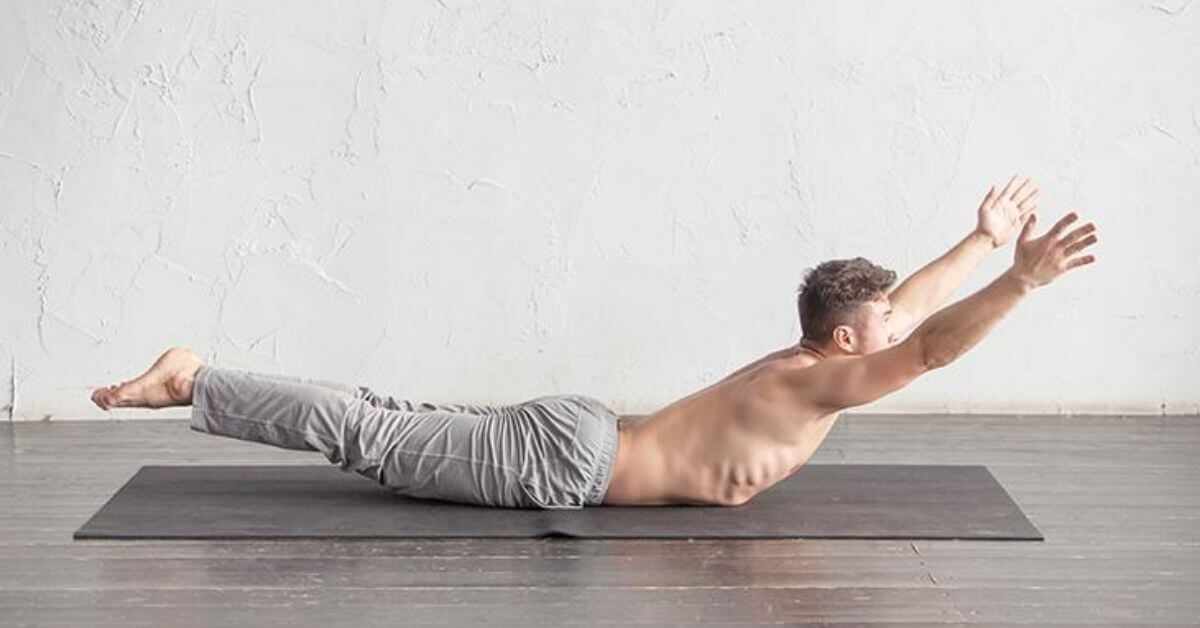
This gentle backbend may help relieve lower back pain and fatigue. It strengthens the back torso, arms, and legs.
If you are comfortable by doing cobra pose, then you can attempt it either full locust or the half locust pose.
How to do this?
- Lie on your stomach with your arms next to your torso and your palms facing up.
- Touch your big toes together and turn out your heels to the side.
- Place your forehead lightly on the floor.
- Slowly lift your head, chest, and arms partway, halfway, or all the way up. (Half locust)
- To deepen the pose, lift your legs. (Full locust)
- Look straight ahead.
- Remain in this pose for up to 1 minute.
- Rest before repeating the pose.
6. Bridge Pose or Setu Bandhasana:
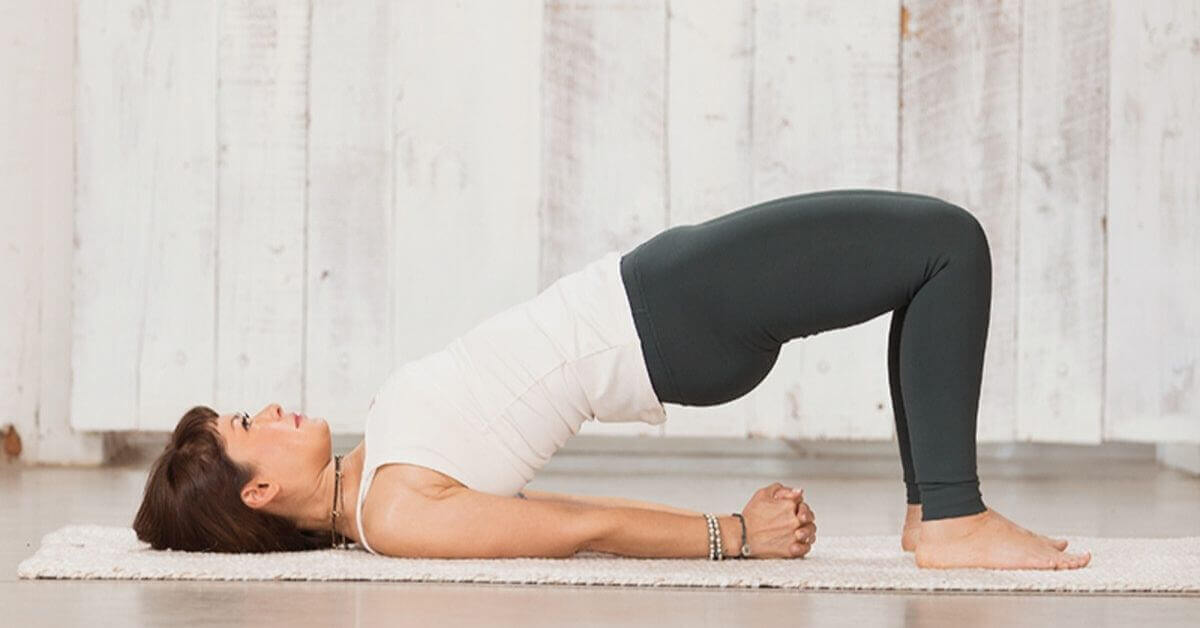
This is a backbend as well as an inversion posture that can be stimulating or restorative. It stretches the spine and it may relieve backaches and headaches.
How to do this?
- Lie on your back with your knees bent and heels drawn into your sitting bones.
- Rest your arms alongside your body.
- Press your feet and arms into the floor as you lift your tailbone up.
- Continue lifting until your thighs are parallel to the floor.
- Leave your arms as they are, bringing your palms together with interlaced fingers under your hips, or placing your hands under your hips for support.
- Hold this pose for up to 1 minute.
- Release by slowly rolling your spine back down to the floor, vertebra by vertebra.
- Drop your knees in together.
- Relax and breathe deeply in this position.
7. Triangle Pose or Trikonasana:
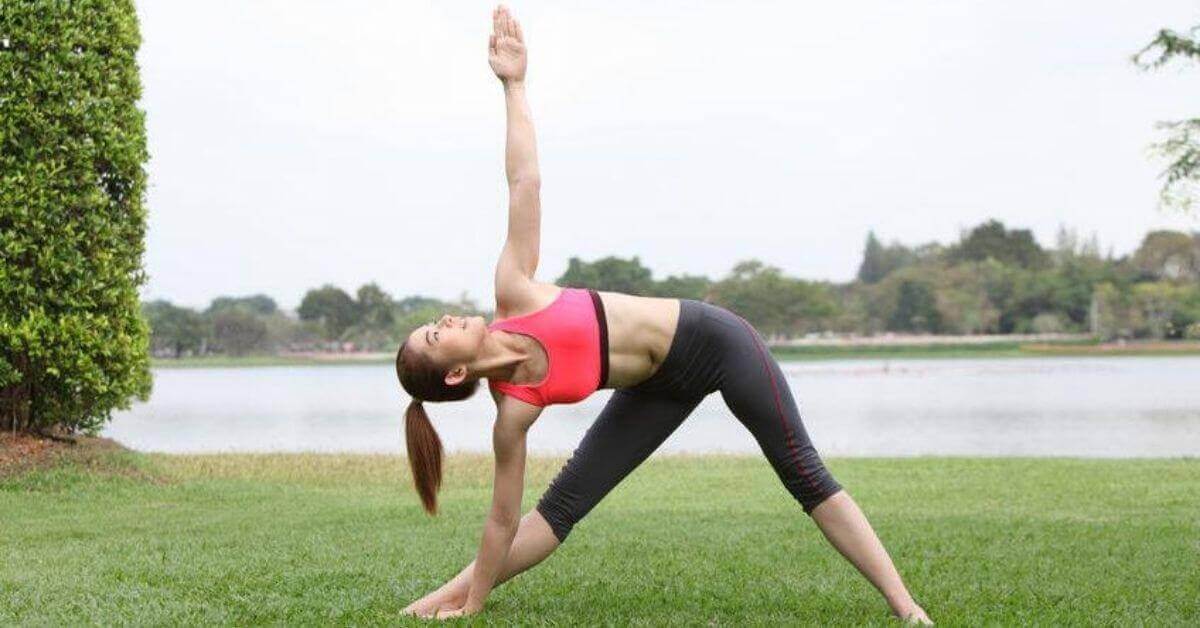
This classic standing posture may help alleviate backache, sciatica, and neck pain. It stretches your spine, hips, and groin, and strengthens your shoulders, chest, and legs.
How to do this?
- From standing, walk your feet about 4 feet apart.
- Turn your right toes to face forward, and your left toes out at an angle.
- Lift your arms parallel to the floor with your palms facing down.
- Tilt forward and hinge at your right hip to come forward with your arm and torso.
- Bring your hand to your right ankle or use a yoga block.
- Extend your left arm up toward the ceiling.
- Look up at your left thumb.
- Hold this pose for up to 1 minute.
- Repeat on the opposite side(left side).
8. Knee Spinal Twist:
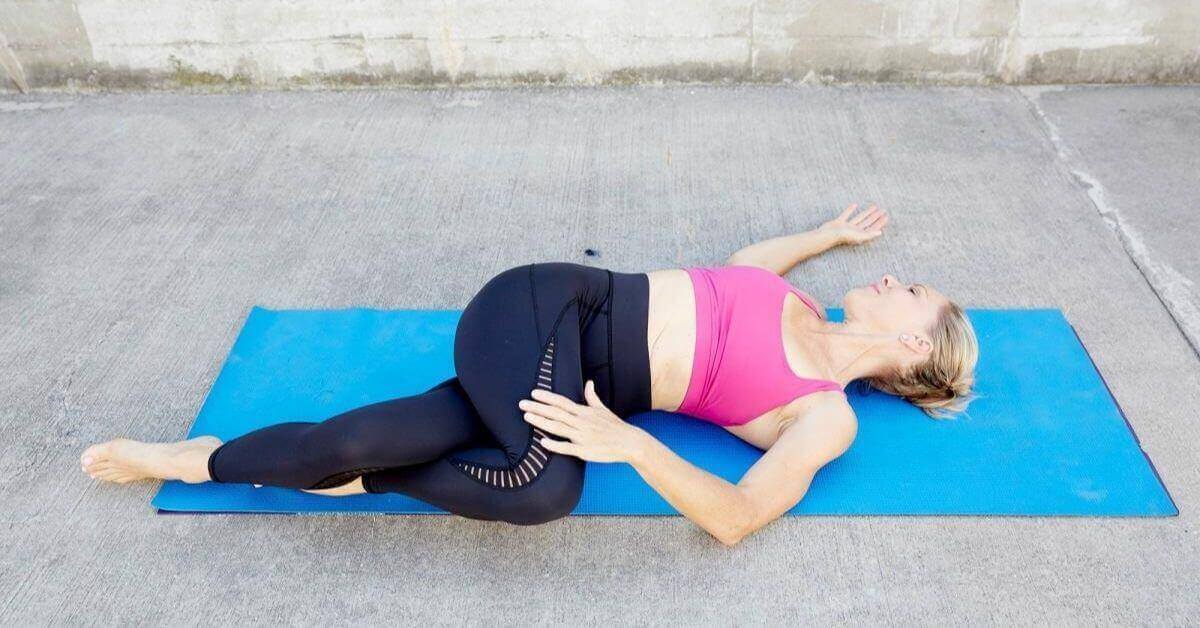
This restorative twist promotes movement and mobility in the spine and back. It stretches your spine and helps relieve pain and stiffness in your back and hips.
How to do this?
- Lie on your back with your knees drawn into your chest and your arms extended to the side.
- Slowly lower your both knees to the left side while keeping them as close together as possible.
- You can use your left hand to gently press down on your knees.
- Turn your neck to the right side.
- Focus on breathing deeply in this position.
- Hold this pose for at least 30 seconds.
- Repeat on the opposite side.
9. Bow Pose or Dhanurasana:

This pose is so-called because it looks like an archer’s bow, the torso and legs representing the body of the bow, and the arms the string. This is a good chest opening yoga posture and also promotes a strong back.
How to do this?
- Lie flat on your stomach. Keep your chin on the mat and your hands at your sides, palms facing up.
Bend your knees. Bring your heels as close as you can to your buttocks. Your knees should be hip-width apart. - Lift your hands and take hold of your ankles. Be sure to grab the ankle and not the top part of the feet.
Inhale and lift the heels away from the buttocks. Simultaneously, lift your head, chest, and thighs away from the mat. At this point, only your core should touch the mat, while the rest of your body is lifted towards the ceiling. - Look straight ahead and hold the pose for about 15 seconds.
- Keep breathing.
- Exhale and release the pose. Lower your head, chest, thighs, and feet back towards the mat. Let go of your ankles and return to your hands to your side. Relax for a few seconds and repeat the pose as needed.
10. Knees to Chest
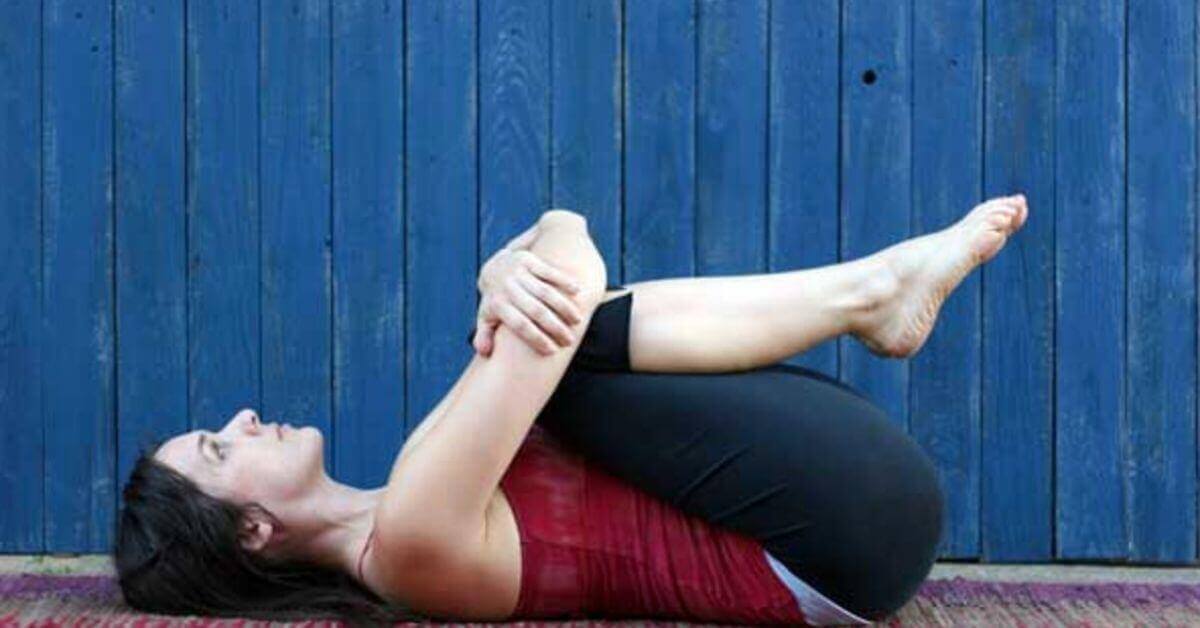
This is the most relaxing yoga posture and often used as a soothing counter-pose to backbends and spinal twists.
Because your body is compact in the pose, your thoughts are more easily drawn inward, which is useful for calming the mind and rebalancing your energy.
How to do this?
- Lie on your back, with your legs and arms extended.
- As you exhale, draw both of your knees to your chest. Clasp your hands around them.
- Keep your back flat on the mat.
- Draw your tailbone and sacrum down toward the mat, lengthening your spine even more.
- If it is comfortable for you to do so, softly rock backward and forward or side-to-side for a gentle spinal massage.
- Tuck your chin slightly and gaze down the center line of your body.
- Hold for up to one minute. Keep your breath smooth and even.
- With an exhalation, release and extend both legs along the floor and rest.
- Repeat up to six times.
The bottom line
Being a yoga practitioner, I always recommend yoga practice to treat your back pain. But be sure to talk with your doctor before starting any new yoga or exercise program. They can help you identify any possible risks and help monitor your progress.
Start your yoga practice from today and let me know if it is helpful to you.
You can follow me on Instagram for more yoga poses and motivation.
Namaste!
[optin-monster slug=”ofzgfgq5ljbqtukramsl”]


Become A Morning Warrior: 3 Reasons to Start Your Day Early

Boost Your Productivity with These 4 Easy Mindset Steps

From Clutter to Zen: Decluttering Tips for a Serene Home

5 Best Physiotherapy Treatments You Should Know About

The Keto Diet: Unveiling its Benefits on Weight Loss

Mindful Living: A Guide to Infuse Yoga into Your Daily Routine

Crafting a Healthier Tomorrow: A Guide to a Sustainable Lifestyle

Best Practices in Addressing Behavioral Health Outcomes

Why Celebrating Your Small Wins Is Important

How to Maintain Your Family’s Health

40 Rules of Love – Book Summary

31 Powerful Quotes From The 40 Rules Of Love

Top 25 Most Inspiring Mahatma Gandhi Quotes

10 Powerful Ways To Make A Difference In Someone’s Life

You Can Win Book Summary By Shiv Khera

21 Inspiring Quotes By Abdul Kalam To Dream Big in Life

Couple Yoga Poses and Benefits of Yoga with Partner

50+ Inspiring Rich Dad Poor Dad Quotes by Robert Kiyosaki

101 Best Louise Hay Positive Affirmations To Start Your Day
Rumi Quotes About Love & Life To Get More Positivity
-

 Lifestyle3 months ago
7 Daily Habits to Elevate Your Dental Care Routine
-

 Books2 months ago
10 Life-Changing Lessons from ‘Atomic Habits’ by James Clear
-

 Lifestyle3 months ago
Benefits Of Amla Juice For Weight Loss
-

 Growth3 months ago
The Hero’s Journey: Transformative Questions for Success?
-

 Growth2 months ago
Simple Ways To Boost Your Confidence In A Day
-

 Growth3 months ago
How Cognitive Biases Affect Our Decision-Making Process
-

 Travel3 months ago
Mindset Peaks: The Mental Benefits of Trekking Explained
-

 Relationship3 months ago
Memorial Tree for a Beloved: Celebrate the Legacy of a Life