
Yoga
Yoga During Pregnancy: Safe Prenatal Asanas & Benefits

There are lots of benefits of yoga during pregnancy. Prenatal yoga is a key ingredient to have a healthy and happy pregnancy. Let’s have a look on yoga poses to practice during pregnancy and how they are beneficial to you as a would be mother.
You’re expecting a child?! Congratulations! You must be feeling a mix of emotions – excitement, fear, happiness, and overwhelm – all at the same time.
Yes, it can be difficult to put your finger on exactly what you’re thinking or feeling. The kicks are a delight, but the cramps are incapacitating and debilitating.
You might be giddy with excitement one minute and overcome with emotion the next. When you have a life growing inside of you, there are no words to adequately describe the experience.
As a result of hormonal changes, you may also encounter a fair amount of mood swings. As a result, if you are pregnant, yoga can be an absolute lifesaver for you. Here are the reasons why?
Why Expectant Mothers Should Practice Yoga?
Yoga provides a wide range of health benefits for expectant mothers, including:
- Yoga asanas (postures) help to keep the body flexible. They do this by opening up the pelvic region, which relieves tension around the cervix. This helps to prepare expectant mothers for labour and delivery.
- Yoga and pranayamas can help you learn to breathe deeply and relax consciously, which will prepare you to deal with the demands of labour and childbirth more effectively.
- Practicing yoga can help alleviate the effects of common signs such as nausea, traumatic muscle cramps, swollen feet, and constipation, among others.
- Yoga asanas can also assist pregnant women in recovering more quickly after delivery.
Related: 14 Types Of Yoga Practices
Yoga Asanas To Practice During Pregnancy
1. Marjariasana
STEPS:
- Get down on your hands and knees. Form a table with your back as the table top and your hands and feet as the table legs by standing on your hands and feet.
- To maintain proper alignment, keep your arms perpendicular to the floor, with hands directly under your shoulders and flat on the ground; your knees should be hip-width apart.
- Keep your gaze fixed on the horizon.
- To begin, raise your chin and tilt your head back, pushing your navel downwards and raising your tailbone as you inhale. Compress the buttocks together. Do you have a slight tingling sensation here?
- Hold the Cat pose for as long as you can and take long, deep breaths.
- This should be followed by a counter-movement: as you exhale, lower your chin to your chest and arch up as much as you can; relax your buttocks.
- You should hold this position for a few seconds before returning to the original table-like position
- Continue for five or six rounds before releasing yourself from this yoga position.
BENEFITS
- Increases the range of motion in the spine.
- It helps to strengthen the wrists and shoulders.
- The digestive organs are massaged, and digestion is made easier.
- It tones the abdominal muscles.
- It helps with digestion.
- Improves blood circulation and helps to relax the mind.
2. Konasana-I (Standing Sideways Bending One Arm)
STEPS:
- Maintain a straight posture with your feet approximately hip width apart and your arms alongside your body.
- As you take a deep breath, lift your left arm up so that the fingers point towards the rooftop.
- To begin, take a deep breath out and flex to the right, first from the spine, and then shift your pelvis to the left and bend a little more. Maintain the position of your left arm.
- Look up at the left palm by turning your head 90 degrees. Straighten the elbows a little bit.
- As you take a deep breath, straighten your body again.
- Taking a deep breath out, lower the left arm.
- Carry out the same procedure with your right arm.
BENEFITS:
- It aids in the stretching of the sides of the body as well as the spine.
- It is beneficial in toning the arms, legs, and abdominal organs.
- Effective in the treatment of back pain.
- Increases the range of motion in the spinal column.
- People who suffer from constipation will benefit from this product.
- Especially beneficial for people who suffer from sciatica.
3. Konasana-II (Standing Sideways Using Both Arms)
STEPS:
- Position your feet approximately 2-feet apart. Weight should be distributed evenly between both feet.
- As you take a deep breath in, raise your arms overhead and join your palms together, interlacing your fingers to form a steeple shape.
- Maintain contact between the arms and the ears.
- Bend to the right as you take a deep breath. Maintain your attention on straightening your elbows, pressing your feet firmly into the ground, and shifting your pelvis to the left.
- Hold. Allow yourself to be stretched on the side and relax in this position. Deep, gentle breaths in and out on both sides.
- Return to your standing position by taking a deep breath in.
- As you exhale, lower your arms to your sides.
- Bend to the other side and repeat the process.
BENEFITS:
- This exercise extends the areas of the body as well as the spine.
- This exercise sculpts the upper arms, lower legs, and abdominal organs.
4. Veerbhadrasana (Warrior Pose)
STEPS:
- Take a straight stance with your feet at least 3-4 feet apart and your legs spread wide.
- Switch your right foot out by 90 degrees and your left foot in by about 15 degrees to complete the movement.
- Test your alignment by looking at the heel of your right foot and the centre of your left foot. Are you in alignment?
- Elevate both arms sideways to shoulder height, with the palms of your hands facing up.
- Checkpoint: Are your arms parallel to the ground when you’re standing still?
- Bend your right knee as you take a deep breath out.
- Checkpoint: Do your right knee and right ankle form a straight line when you stand on your right foot? Make sure your knee does not overshoot the ankle when you are walking.
- Turn your head to the right and look around.
- As you come to a comfortable position in the yoga posture, extend your arms even further.
- Make a gentle push with your pelvis to bring it down. Warrior-like determination is required to maintain the yoga posture. Smile broadly, as if you were a joyfully smiling warrior. Continue to take deep breaths as you descend.
- Come up, taking a deep breath in.
- As you exhale, bring your hands down from the sides of your body.
- Repetition of the yoga posture for the left side is required.
BENEFITS:
- Arms, legs, and lower back are all strengthened and toned as a result of this exercise.
- Improves the overall balance of the body and aids in increasing stamina.
- Those who work in sedentary or deskbound environments will benefit from this.
- In the case of frozen shoulders, this is extremely beneficial.
- The shoulders are relieved of stress in a short period of time thanks to this product.
- It bestows good fortune, courage, grace, and tranquilly.
5. Trikonasana (Triangle Pose)
STEPS:
- Maintain a straight posture. Lie down and spread your feet comfortably apart (about 3 1/2 to 4 feet apart).
- Turn your right foot out 90 degrees and your left foot in 15 degrees to start with your right foot.
- Now, align the centre of your right heel with the centre of the arch of your left foot to complete the alignment.
- Make certain that your feet are pressing into the ground and that the weight of your body is evenly distributed between both feet
- Inhale deeply, and as you breathe, bend your body to the right, downward from the hips, keeping the waist straight, allowing your left hand to rise in the air while your right hand descends toward the floor. Repeat on the other side. Maintain a straight line with both arms.
- If it’s possible, relax your right hand on your shin, ankle, or the floor out beyond your right foot, whatever is closest to your right foot without distorting the sides of your body. Stretch your left arm up toward the ceiling, so that it is in line with the tops of your shoulders, and hold it there. Maintain a neutral position for your head or turn it to the left, with your eyes softly focused on the left palm.
- Check to see that your body is not bent backward or forward, but rather sideways. The pelvis and chest are completely exposed.
- Stretch to your maximum capacity while remaining steady. Continue to take in long, deep breaths. Relax the body more and more with each exhalation, until it is completely relaxed. Simply being present with the body and the breath is sufficient.
- As you inhale, lift your torso and straighten your legs, bringing your arms down to your sides and your feet together.
- Then do the same thing on the opposite side.
BENEFITS:
- Legs, knees, ankles, arms, and chest are all strengthened as a result of this exercise.
- Opens the hips, groynes, hamstrings, calves and other major muscle groups in the body (including the chest and spine).
- Increases the state of mental and physical balance.
- Aids in the improvement of digestion.
- Anxiety, stress, back pain, and sciatica are all reduced.
6. Badhakonasana (Butterfly Pose)
STEPS:
- Sit with your spine straight and your legs spread out straight in front of you.
- Now, bending your knees and bringing your feet closer to your pelvis is the goal. The soles of your feet should be in contact with one another.
- With your hands, tightly grasp the soles of your feet. For added support, you can place your hands underneath your feet.
- In order to get the heels as close to your genitals as possible, make an effort.
- Bring your lungs full of oxygen. Taking a deep breath out, press the thighs and knees downwards towards the ground. Put forth a gentle effort to maintain downward pressure on the knuckles.
- Start flapping both legs up and down in the same manner as a butterfly’s wings at this point. Begin at a slow pace and gradually increase your speed. Maintain a normal breathing pattern throughout.
- Fly higher and higher, as quickly as you are able to comfortably do so. Slow down and then come to a complete stop. Deepen your breath in, then bend forward as you exhale, keeping your chin up and spine straight.
- Press your elbows against your thighs or your knees, which will help to bring your knees and thighs closer to the floor.
- As you feel the stretch in your inner thighs, take several long, deep breaths, allowing the muscles to become increasingly relaxed.
- Take a deep breath in and lift your torso off the floor.
- Gentle release of the posture should occur as you exhale. Straighten your legs out in front of you and take a deep breath.
BENEFITS:
- Stretches the inner thighs, groynes, and knees while increasing flexibility in the groyne and hip region.
- It also aids in digestion by relieving fatigue caused by long hours of standing and walking.
- It also aids in the smooth delivery of a baby when practised regularly until late pregnancy (if practised regularly until late pregnancy).
Related: 50+ Health Benefits Of Yoga
Safety Guidelines for Pregnancy Yoga
✅ Always consult your obstetrician before starting
✅ Avoid deep backbends, belly compressions, and inversions
✅ Use props: blocks, bolsters, straps
✅ Stop immediately if dizziness, pain, or bleeding occurs
FAQs About Yoga During Pregnancy
Is prenatal yoga safe for all trimesters?
Yes, but modify intensity and choose trimester‑appropriate poses.
Can yoga reduce labor pain?
Studies indicate prenatal yoga helps with stress relief, improved breathing, and may ease labor outcomes.
Which yoga styles are best during pregnancy?
Gentle practices like Hatha, Iyengar, Restorative, or guided Prenatal Yoga are preferred. Avoid vigorous styles like Ashtanga or Hot Yoga.
How often should pregnant women do yoga?
Aim for 3–5 sessions per week, around 20–45 minutes, depending on energy and doctor’s advice.
When should I stop practicing yoga?
Cease if you experience bleeding, pain, contractions, dizziness, fluid leakage, or decreased fetal movement.
Related: Yoga Poses Names in Sanskrit & English


Hello there! Welcome to LIFEGRAM, a lifestyle blog about travel, growth, wellness, and all things worth writing!
-
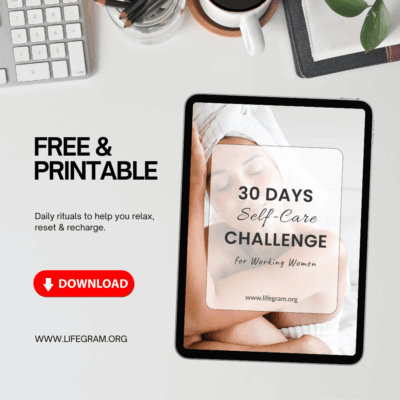 Download Your Free 30-Day Self-Care Challenge PDF
Original price was: $20.00.$0.00Current price is: $0.00.
Download Your Free 30-Day Self-Care Challenge PDF
Original price was: $20.00.$0.00Current price is: $0.00.
-
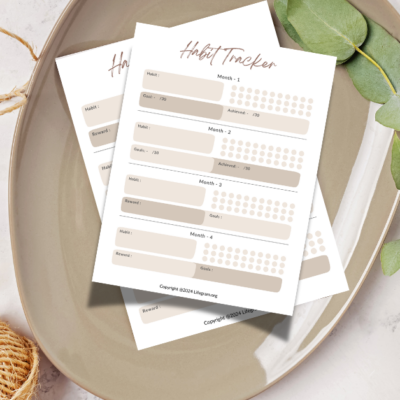 Create Any Habit with the Free Printable Habit Tracker
Original price was: $5.00.$0.00Current price is: $0.00.
Create Any Habit with the Free Printable Habit Tracker
Original price was: $5.00.$0.00Current price is: $0.00.
-
 Start Journaling: Download Your Daily Journal for 2026
Original price was: $20.00.$1.99Current price is: $1.99.
Start Journaling: Download Your Daily Journal for 2026
Original price was: $20.00.$1.99Current price is: $1.99.
-
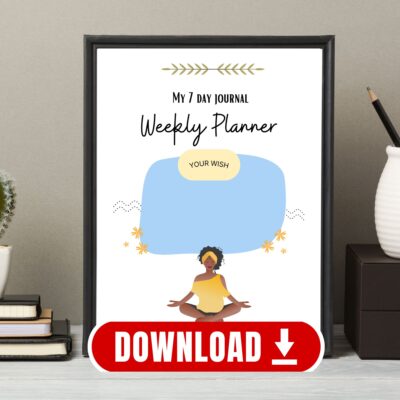 Organize Your Week: Download Weekly Planner Now!
Original price was: $5.00.$0.00Current price is: $0.00.
Organize Your Week: Download Weekly Planner Now!
Original price was: $5.00.$0.00Current price is: $0.00.
-

 Journaling1 month ago
31 Best July Journal Prompts
-

 Journaling3 months ago
May Journal Prompts 2026: 31 Daily Ideas for Self-Reflection and Growth
-

 Journaling2 months ago
30 Best June Journal Prompts for Self-Discovery & Personal Growth
-

 Yoga1 month ago
International Yoga Day 2026 – Meaning of Yoga For A Yogi
-

 Fitness3 months ago
75 Hard Challenge Guide to Build Mental Toughness and Discipline
-

 Growth2 months ago
The Ultimate Kaizen Guide: Build Better Habits with Small Daily Steps
-

 Self Care3 months ago
50+ Solo Date Ideas to Fall in Love With Yourself
-

 Growth4 weeks ago
15 Powerful Ways to Invest in Yourself – An Ultimate Guide